masthead-inner-graphics-image

AI Dashcam

The AI Dashcam delivers enterprise-grade video intelligence with plug-and-play OBD installation, giving fleets real-time visibility and advanced driver safety insights. Powered by intelligent AI features, it automatically detects critical events, monitors driving behavior, and captures high-definition footage to help reduce risk and improve accountability.

  • Distracted Driving: Driver’s head and eyes are off the road for a prolonged period of time.
  • Driver Fatigue: Driver is yawning or has prolonged eyelid closure.
  • Cell Phone Usage: Driver is holding a mobile phone to either side of their head for a prolonged period.
  • Tailgating Vehicles: Headway Monitoring Warning or “Tailgating” Notifies drivers when they infringe upon a configurable “unsafe” distance to the vehicle ahead.
  • Lane Departure: Lane Departure Warning Detects a vehicle drifting across a solid lane line.
  • Collision Warnings: Forward Collision Warning Monitors and notifies drivers when a collision with the vehicle or obstacle ahead of them is imminent.

What’s Included?

The AI Dashcam comes complete with everything you need to start monitoring your assets with confidence. Each purchase includes the hardware and full access to NetTrack, our powerful, easy-to-use fleet tracking platform.

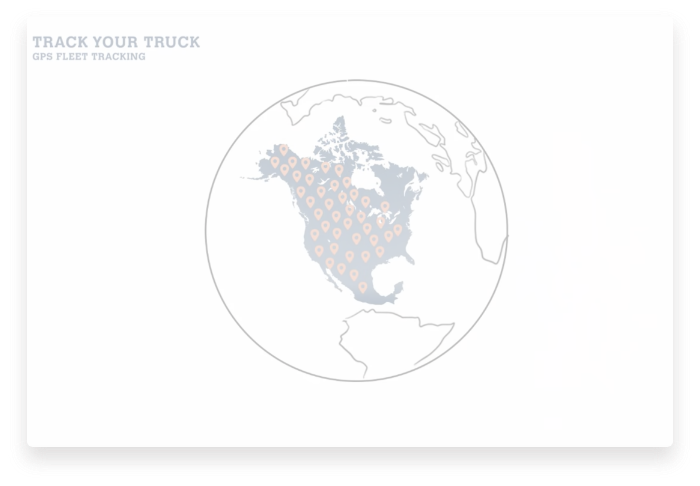
  • Fleet Tracking Software Subscription: Every device includes access to NetTrack, our advanced fleet tracking software. Subscription length is based on the contract term selected at checkout.
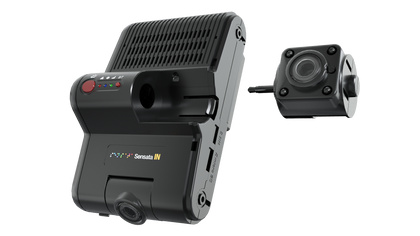
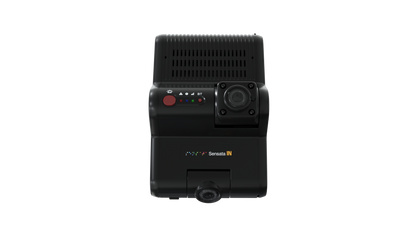
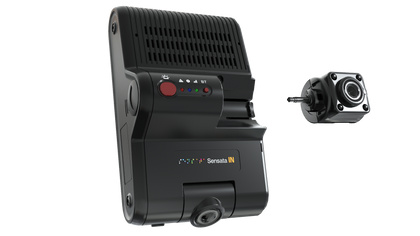
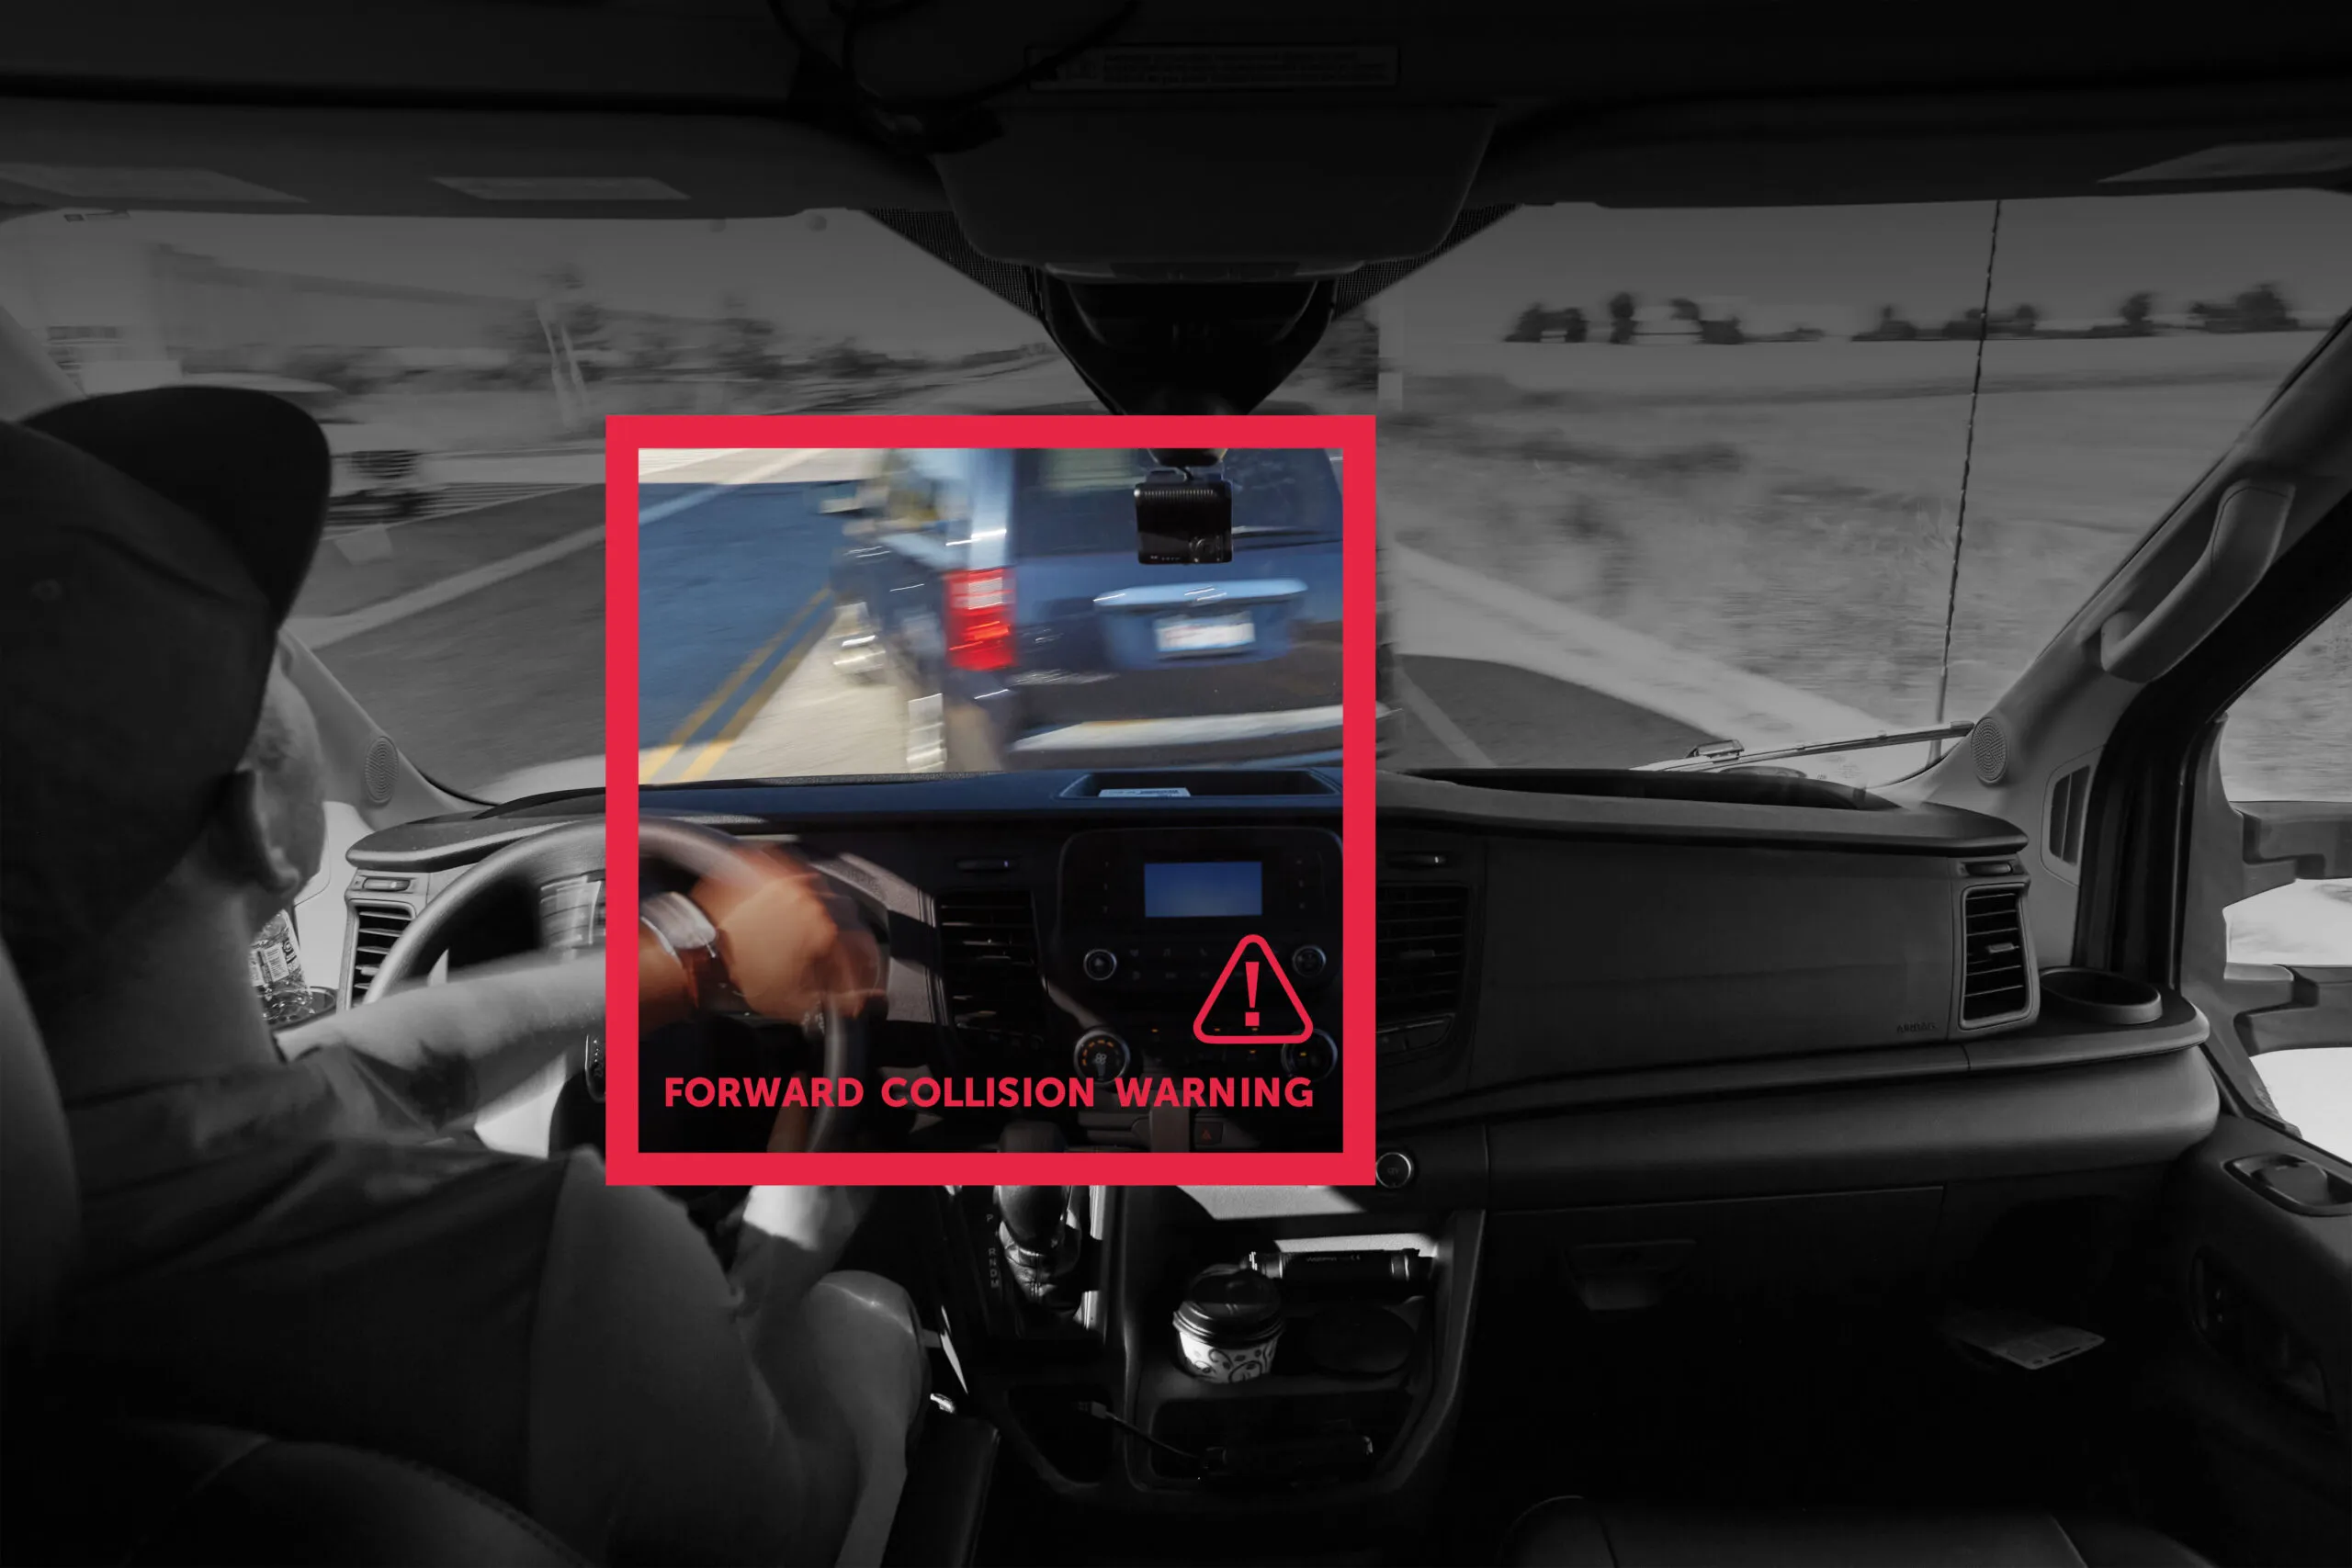
  • GPS & Dashcam Hardware: Includes the AI Dashcam device along with all necessary instructions for quick, easy installation and setup.
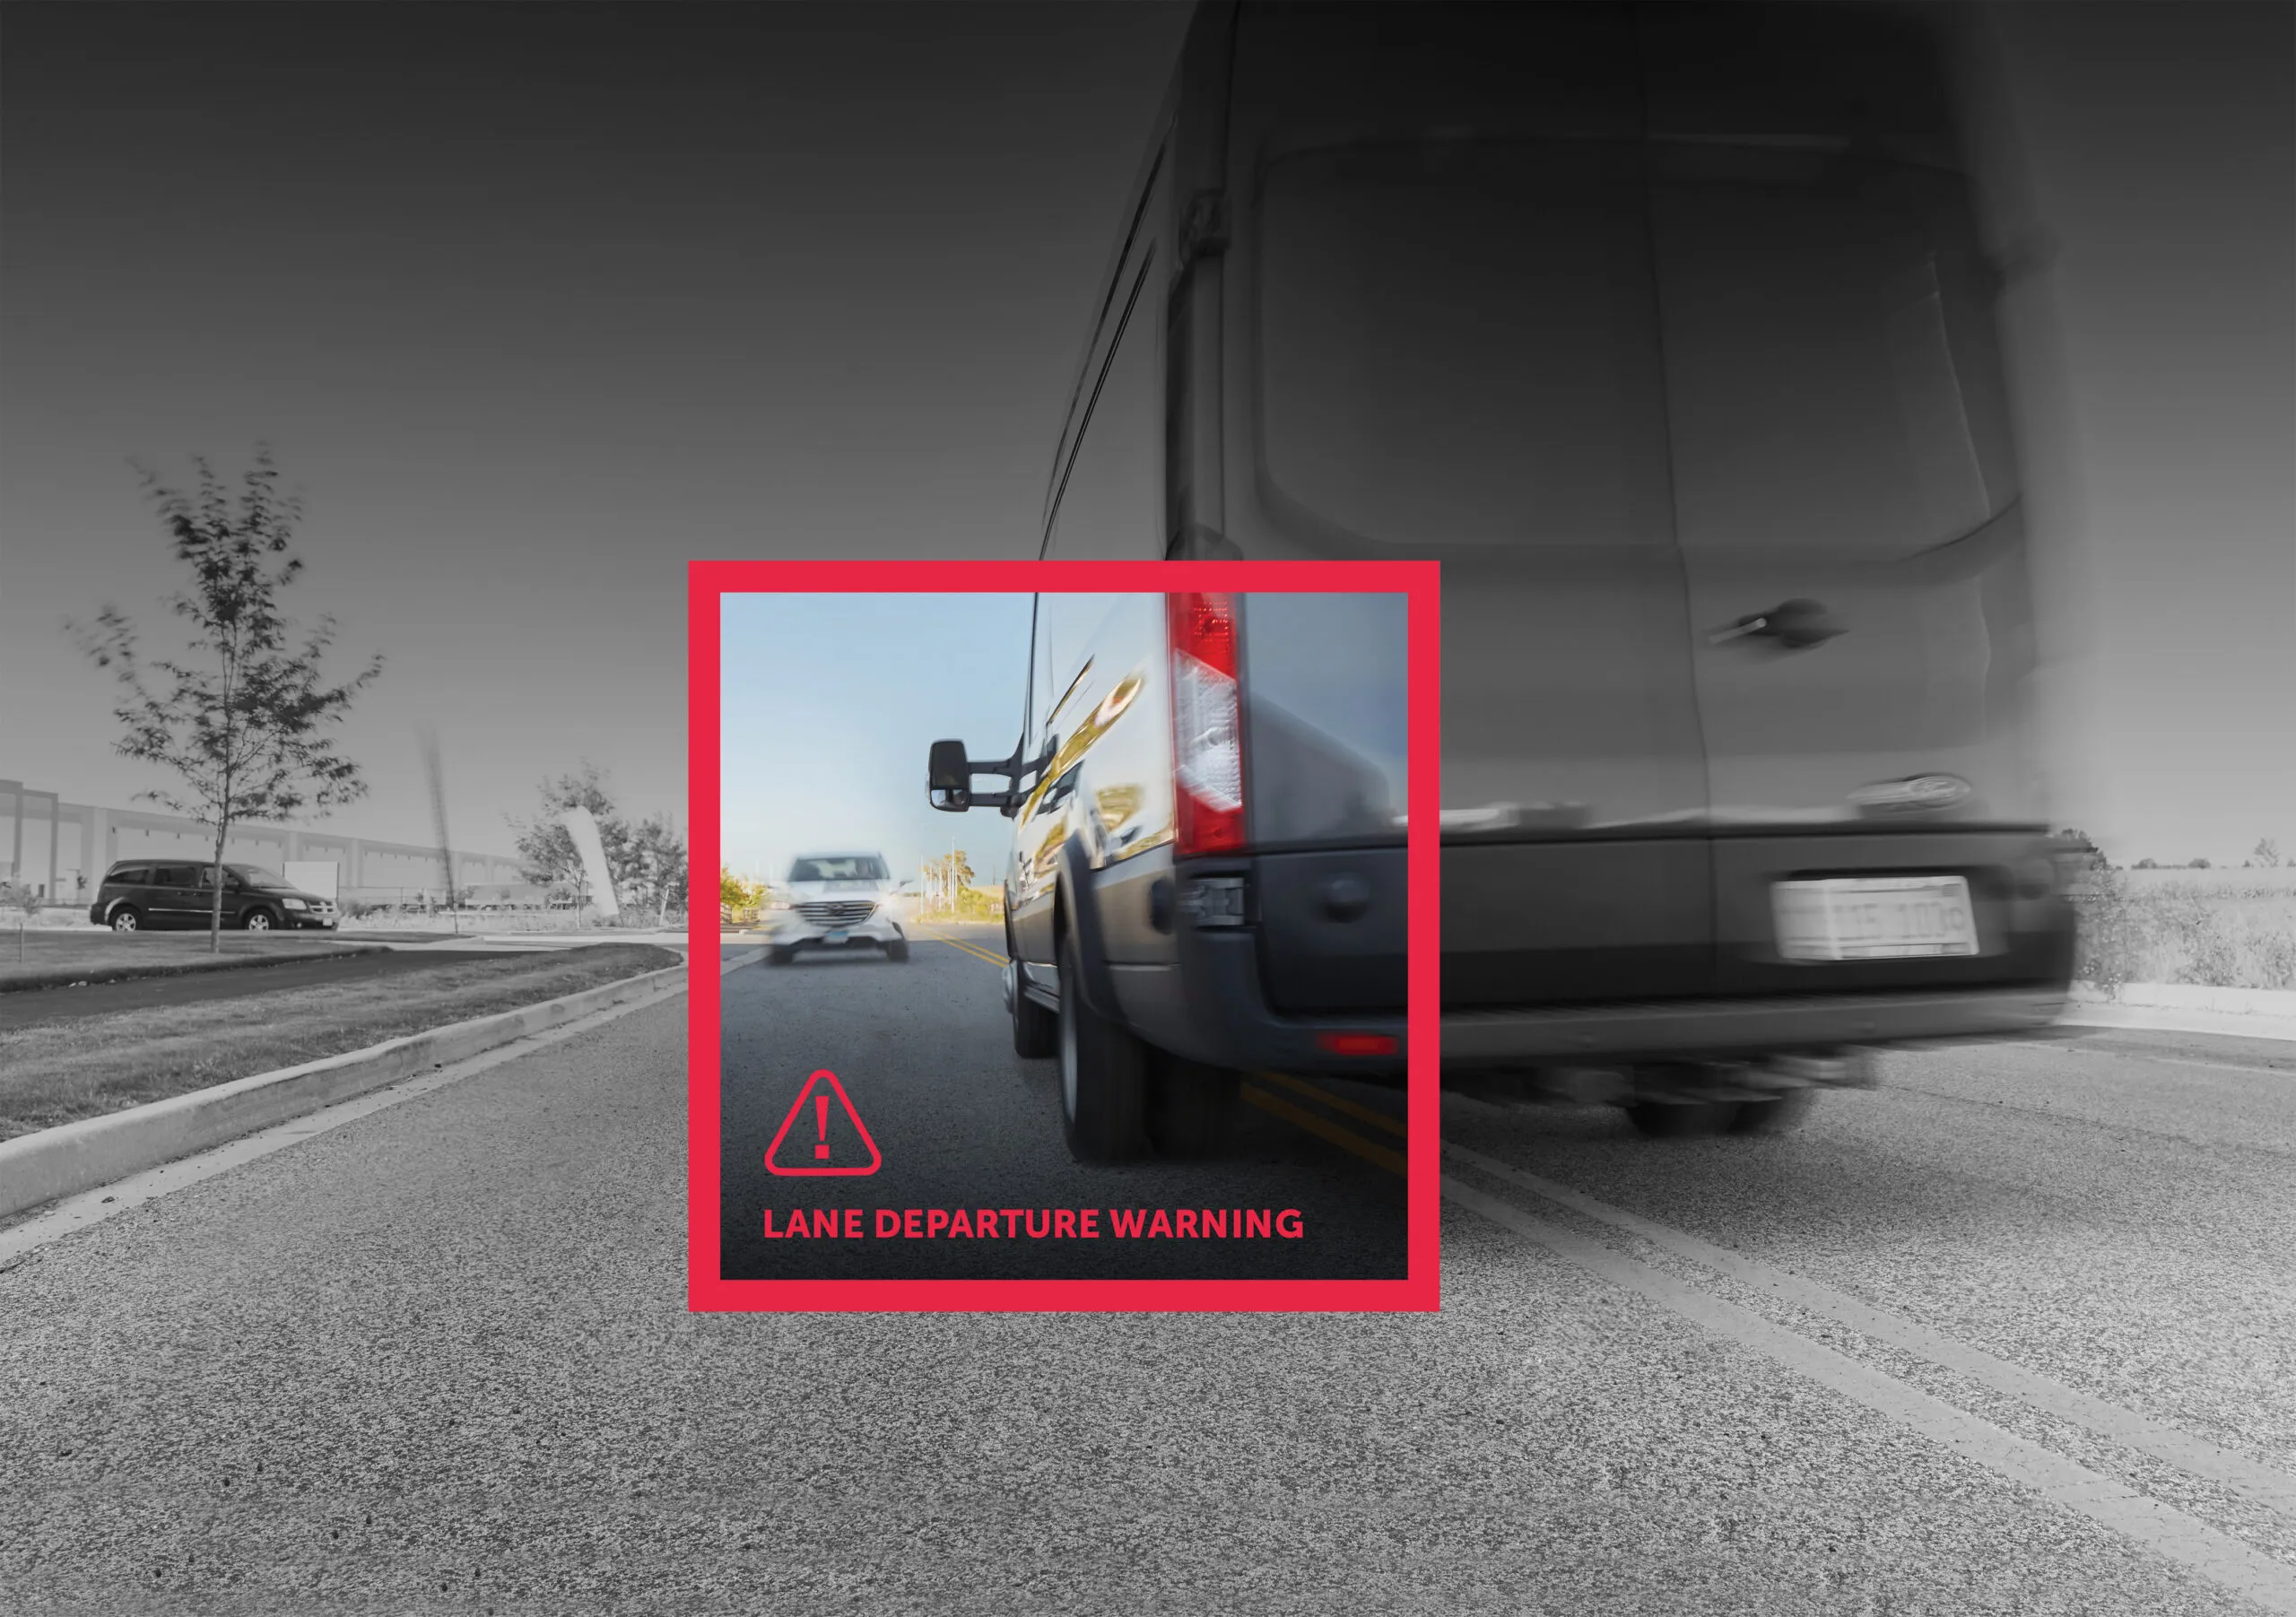
  • Advanced AI Features: Includes advanced AI features such as AI driver notifications and fleet manager alerts.
  • U.S. Based Customer Support: Our knowledgeable support team is based in the U.S. and available to assist with setup, troubleshooting, and ongoing questions.

Product Features:

  • Live view of Road in Hi-Def
  • Lightning Fast Plug & Play Installation option
  • 30 Second Tracking Updates
  • Deters criminals from vandalism and/or robbery of company vehicles
  • Prevents unsafe driving habits
  • Protects your fleet against fraudulent accident claims
  • Provides eligibility for insurance discounts
  • Compliments our NetTrack Tracking Solution

Service Details:

  • Real-Time Video transfer with GPS Location tagging.
  • ADAS Safety Alerts with instant audible notifications
    • Lane Departure
    • Forward Collision
    • Forward Vehicle Start
    • Forward Proximity
  • Instant notification of adverse events
  • HD Video with LTE performance
  • Up To 128 GB/ 166 Hours of Local Storage
  • Triggered event reporting

How to Install a Dashcam for Commercial Vehicles

The AI Dashcam has both OBD plug-in and hardwired installation options. Follow the simple installation steps listed below to get your dashcam up and running:

Plug-In Camera:

  • Find the port: Locate the OBD port for the dash cam on the lower left-hand side of your vehicle.
  • Prep the dashcam for installation: Loosen the screw on the right side of the unit and remove the side panel.
  • Configure the dashcam: Hold the dashcam where you want to mount it. The location should be high and close to the center of the windshield. Rotate the camera until it is within 1 to 2 inches of the wiper zone.
  • Secure the camera: Lock the camera angle by tightening the screw on the right side. Place in the endcap.
  • Prep the windshield: Use the alcohol wipe to clean the mounting area for the dashcam. Let it dry.
  • Place the dashcam: Peel the adhesive backing covers off the dashcam. Hold the unit where you want it on the windshield, then press and hold for 30 seconds.
  • Connect the cables: Attach the cable to the dashcam. Insert the cable into the clips and adhere the cable to the windshield. Connect the cable to the OBDII port.

Hardwired Camera:

  • Mount the device: Find the best place to mount the camera unit on the windshield where it doesn’t not obstruct the drivers view. Ensure that the camera is aimed in the correct direction (finer adjustments can be made at a later time).
  • Connect the device to a power source: When you’re ready to power the device, you’ll have access to a black wire, red wire and white wire. First, you need to connect the black wire to a ground point. Then, you can connect the red wire to a 12-volt power supply. The white wire connects to a 12-volt switched ignition source.
  • Verify installation: To verify installation, you can visit our NetTrack Installer Check. Be sure to park the vehicle outside with a clear view of the sky before starting the test. The Installer Check will prompt you to turn on the vehicle, let it run for a few minutes and then turn it off again before starting the test. Follow the instructions, and enjoy the benefits of your dashcam once you’re finished.
quote-bgg

Get a Free Quote

    Your privacy is important to us. Your information is protected.

    Why We Are Better. View Video Below.